




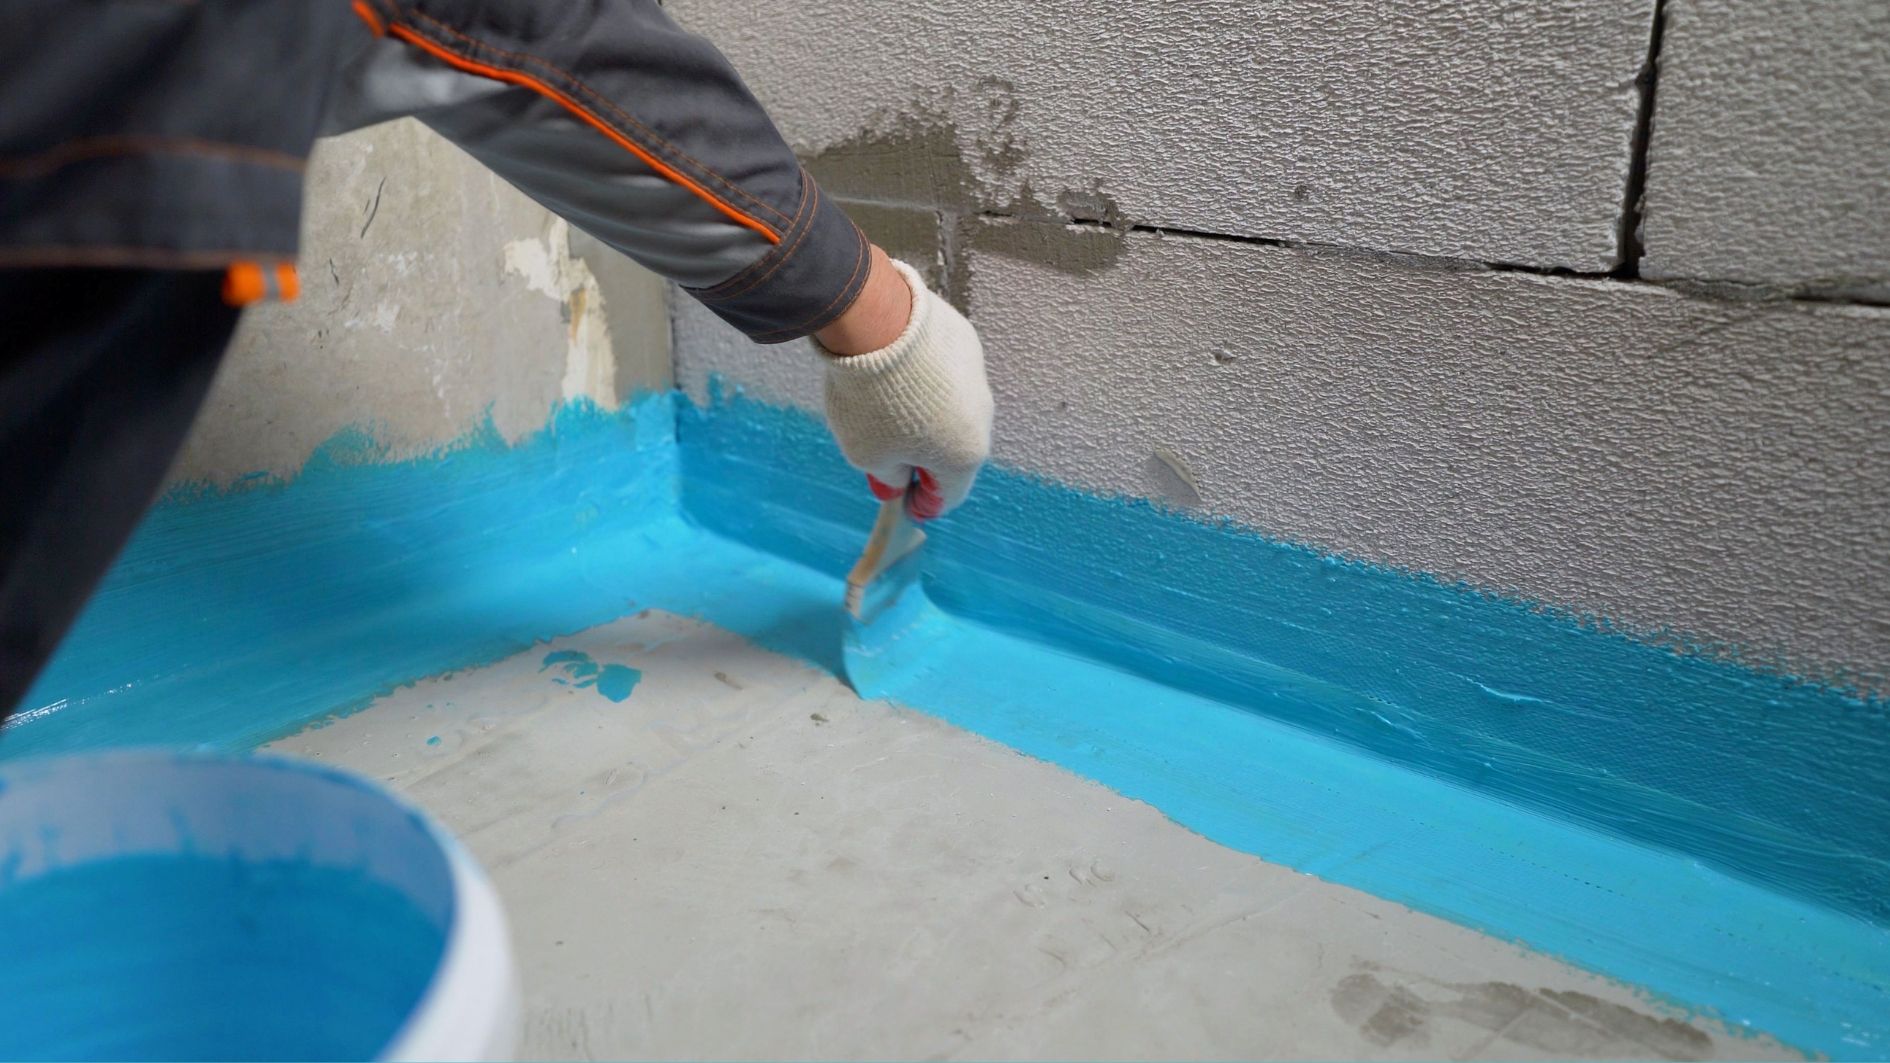
Bathrooms handle moisture every day, but your shower should keep that water inside the tiled area. When waterproofing fails, water tracks behind the walls and under the floor before visible damage shows. In Brisbane homes, waterproofing problems are more common in high-use family homes and properties exposed to constant humidity throughout the year. Many homeowners brush off early warning signs because the shower still looks usable on the surface.
By the time waterproofing damage becomes obvious, tradies are no longer dealing with a minor bathroom repair. The work already involves removing tiles, replacing damaged wall linings, drying out moisture-affected areas, and rebuilding the waterproofing system from scratch.
Habits That Cause Shower Waterproofing to Fail Faster
Shower waterproofing breaks down faster when the bathroom never gets a proper chance to dry, especially in Brisbane’s hot and sticky conditions where wet areas stay damp after every shower.
Homeowners can make the problem worse by:
- Shutting the bathroom door after hot showers
- Skipping the exhaust fan
- Cleaning tiles with harsh acid products
- Leaving loose grout alone for months
When these habits continue, the shower area stays damp, and the extra moisture weakens the protective seals that stop water from tracking into the wall and floor structure underneath. Below are five clear signs that your shower waterproofing has started to fail.
#1 Cracked Grout and Loose Silicone
These joints take the most water during every shower, so they are one of the first places to break down. Once the silicone splits, lifts, or pulls away from the tile, water gets a clear path into the floor area.
Common signs include:
- Gaps between tiles and sealant
- Grout breaking near the floor
- Mould stains in the corners
Stop scrubbing the damaged area and keep the shower as dry as possible after use. Wipe down the base, run the exhaust fan, and keep an eye on any gaps that are getting wider. Avoid sealing over cracked grout or loose silicone without checking the area first, as trapped moisture continues spreading underneath the tiles.
#2 Persistent Mould Around the Bathroom
It is normal for a bathroom to feel damp after a hot shower, but the moisture smell should not hang around for hours. When the odour stays even after cleaning, airing out the room, and running the exhaust fan, water is trapped behind the tiles or around the wall and floor areas.
Mould becomes a bigger red flag when it moves past the shower area, as black marks on nearby walls show that moisture is spreading beyond the shower. Avoid painting over mould marks, as this only hides the warning sign while the damp area keeps spreading underneath.
#3 Ceiling Stains Under the Shower
For anyone living in a two-storey home, or an apartment block, this is the ultimate smoking gun. Once water reaches the ceiling below, the issue has already travelled through the layers between both levels.
Signs to check include:
- Brown ceiling marks
- Flaking paint on the ceiling
- Dripping from plaster joints
- Musty smell in the room below
Leaking showers need more care once ceiling stains appear below the bathroom. Clear the space under the stain, avoid touching swollen plaster, and reduce shower use while checking if the mark spreads after each use.
#4 Bubbling Paint on Shared Walls
Shared walls can reveal shower waterproofing failure when moisture has already moved beyond the shower area. Bubbling paint, and damp patches usually appear on the opposite side of the bathroom wall, especially near the floor where water keeps spreading through the plaster and framing. Follow these steps to monitor the damage at home:
- Move furniture away from the damaged wall
- Check skirting boards for swelling
- Avoid repainting bubbled paint
- Take photos to track changes over time
- Keep towels and bathmats away from the damp area
Once bubbling paint shows up on a shared wall, treat it as a sign that the leak has already moved past the shower. Your next step is to stop covering the area, reduce shower use where possible, and get a clearer picture of how far the moisture has spread.
#5 Bouncy Tiles Around the Shower Base
When water gets beneath the shower floor, it starts breaking down the adhesive that keeps the tiles attached. That is why the area can become unstable or slightly spongy underfoot. The damage becomes more noticeable near the drain, corners, and lower wall tiles where water collects the most.
Licensed tradies commonly suggest leaving loose tiles alone, and avoiding quick reseals until the moisture underneath has been checked properly.
What Should You Do After Spotting These Signs?
Keep the affected area dry, avoid quick patch-up fixes, and pay attention to changes in nearby walls, flooring, and timber trims over the next few days. The one thing homeowners should remember is this: Every shower adds more moisture to the same damaged area. The longer the signs stay ignored, the further the water spreads behind the bathroom.
Walk through your bathroom and check one area you normally overlook. Press near the shower base, inspect the corners, and look at the walls outside the bathroom. Early signs are easier to spot when you know where water travels first.